323.1.Fixing-fountainpng

How to Revive a Neglected Fountain Without Replacing It

A fountain can be the crown jewel of a garden, courtyard, or public square, but when it falls into neglect, it can quickly turn from a graceful feature into an eyesore. Many owners assume that once a fountain is dirty, cracked, or non-functional, it’s beyond saving and must be replaced. Fortunately, that’s rarely the case.

In this comprehensive guide, we’ll walk you through everything you need to know to revive a neglected fountain without replacing it. Whether your fountain is a small backyard centerpiece or a sprawling plaza installation, these principles can help you restore its charm and functionality, step by step.

Why Revive Instead of Replace?

Before we jump into the how-to, it’s worth noting why revival is usually the smarter choice:

  • Cost savings: Replacing a fountain can cost thousands, while repairs and cleaning are far more affordable.
  • Historical or sentimental value: Many fountains have unique designs or personal significance that cannot simply be replaced.
  • Sustainability: Reviving your existing fountain avoids unnecessary waste and preserves materials.
  • Faster turnaround: Restoration projects typically take less time than full replacements.

So if your fountain still has good bones, reviving it is a worthy investment.

Step 1: Assess the Damage

The first step to any restoration project is a thorough inspection.

What to Look For:

  • Surface condition: Check for cracks, chips, stains, or algae buildup on all visible surfaces.
  • Plumbing: Test the water flow. Are there leaks? Weak pressure? Blockages?
  • Pump: Listen for unusual noises or complete silence from the pump, a clear sign of trouble.
  • Basins and liners: Inspect for water loss, which can indicate a crack in the basin or deteriorated liner.
  • Structural integrity: Ensure that all tiers or elements are stable and not leaning or collapsing.

Take notes and photos of every issue you find. Knowing exactly what’s wrong will help you prioritize repairs.

Step 2: Clean Thoroughly

Years of neglect often result in thick layers of dirt, algae, and mineral deposits. Cleaning is the most immediate way to improve your fountain’s appearance, and it can reveal hidden damage.

Tools & Materials:

  • Stiff-bristled brushes (plastic or nylon)
  • Non-toxic fountain cleaner or mild dish soap
  • White vinegar or diluted muriatic acid for mineral stains
  • Pressure washer (optional, and only if the material can handle it)

How to Clean:

  • Drain the fountain completely and remove any debris like leaves, twigs, or trash.
  • Scrub the surfaces with soap and water to remove dirt and algae.
  • For hard water stains, use white vinegar or a very diluted acid solution — apply and scrub gently.
  • Rinse thoroughly, ensuring no soap or cleaner residues remain.

If necessary, repeat the process until the fountain is clean.

Tip:

Always wear gloves and eye protection when using chemical cleaners.

Step 3: Repair Cracks and Chips

Once your fountain is clean, you’ll be able to see cracks or chips clearly. Small cracks can cause water loss, which strains the pump and damages the surrounding area.

For Concrete or Stone:

  • Use a concrete patching compound or epoxy specifically designed for fountains.
  • Fill cracks completely, smoothing the surface with a putty knife.
  • Allow to cure as per the product’s instructions.

For Resin or Fiberglass:

  • Sand the damaged area lightly.
  • Use a resin repair kit to fill and seal the damage.
  • Sand smooth and touch up paint if necessary.

For Metal:

  • Remove rust with a wire brush.
  • Use a metal filler or soldering technique to repair holes or weak spots.
  • Apply a rust-inhibiting primer and repaint.

Step 4: Seal the Surface

Once repaired, sealing your fountain is crucial to prevent further damage. This helps keep water where it belongs and protects against algae and mineral stains.

How to Seal:

  • Choose a water-resistant sealer appropriate for your fountain’s material (stone, concrete, metal, etc.).
  • Apply with a brush or spray in even coats.
  • Allow the recommended drying time between coats (usually 2–3 coats are ideal).
  • Let it cure fully before refilling the fountain with water.

Sealing should be repeated every 1–3 years depending on the climate and fountain material.

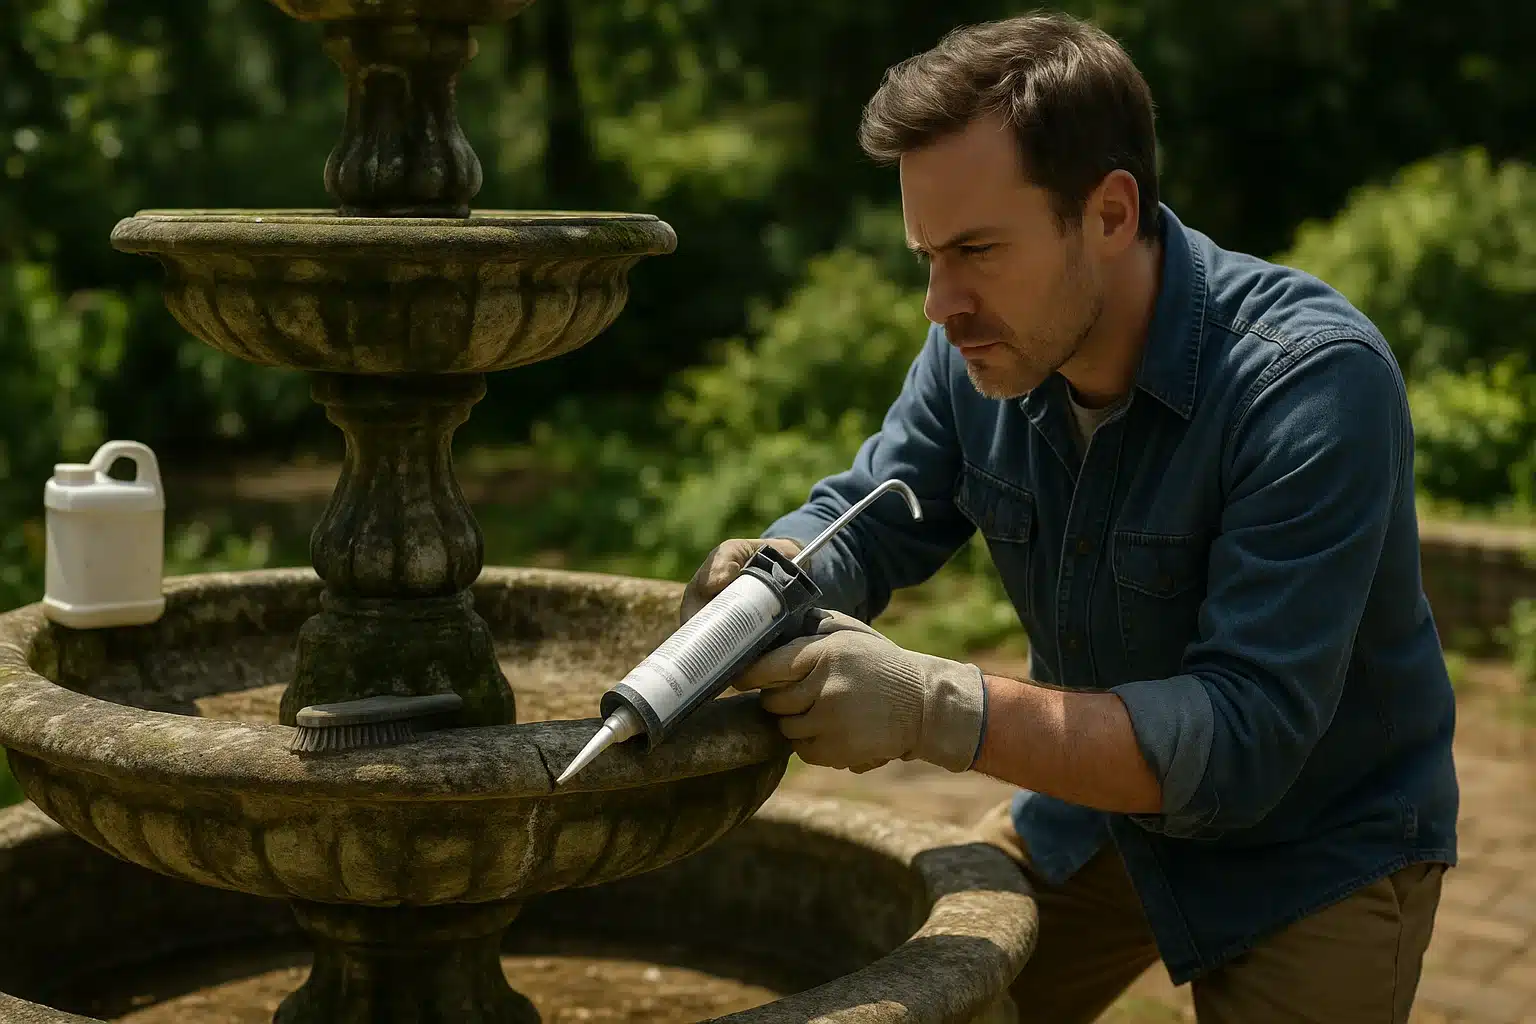
Step 5: Check and Repair Plumbing

Check and Repair Plumbing

Even a beautifully restored fountain won’t work if the plumbing is faulty.

What to Check:

  • Inspect all hoses and pipes for leaks or cracks.
  • Make sure fittings are tight and not corroded.
  • Check the water line for blockages (blow air through it if necessary).
  • Verify that valves open and close properly.

Replace any worn or cracked parts with compatible replacements. Many fountain plumbing components are inexpensive and easy to swap out.

Step 6: Service or Replace the Pump

The pump is the heart of the fountain, if it’s dead or struggling, the water won’t flow properly.

How to Diagnose:

  • If the pump doesn’t run at all, check the power source first.
  • If it runs but doesn’t move water, clean the impeller and intake.
  • If it’s noisy or weak, it may be nearing the end of its life.

Options:

  • Clean and service the pump if it’s still in good shape.
  • Replace it with a new pump if necessary, choose one with the right flow rate and head height for your fountain.
  • When reinstalling, position the pump on a small brick or stand to keep it off the basin floor where debris collects.

Step 7: Refill and Test

Once all repairs are done and everything is sealed, it’s time for the moment of truth.

  • Fill the fountain slowly, watching for leaks.
  • Once filled, turn on the pump and observe the water flow.
  • Adjust water levels or flow settings as needed.
  • Check around the base and connections for any drips or seepage.

Let it run for several hours, monitoring to ensure everything is working as it should.

Optional Upgrades

While restoring your fountain, consider making small upgrades to improve its performance or appearance:

  • Add LED lighting for nighttime ambiance.
  • Install a timer to control operating hours and save energy.
  • Include a water treatment product to minimize algae growth.
  • Upgrade to a quieter, more efficient pump.
  • Landscape around the fountain with fresh plants or stones to complete the look.

Maintenance Tips to Keep It Looking New

After all your hard work, regular maintenance will ensure your fountain stays beautiful for years to come:

  • Clean monthly: Remove debris and scrub if needed.
  • Check water level: Keep the pump fully submerged to avoid burnout.
  • Winterize in cold climates: Drain and cover the fountain during freezing weather.
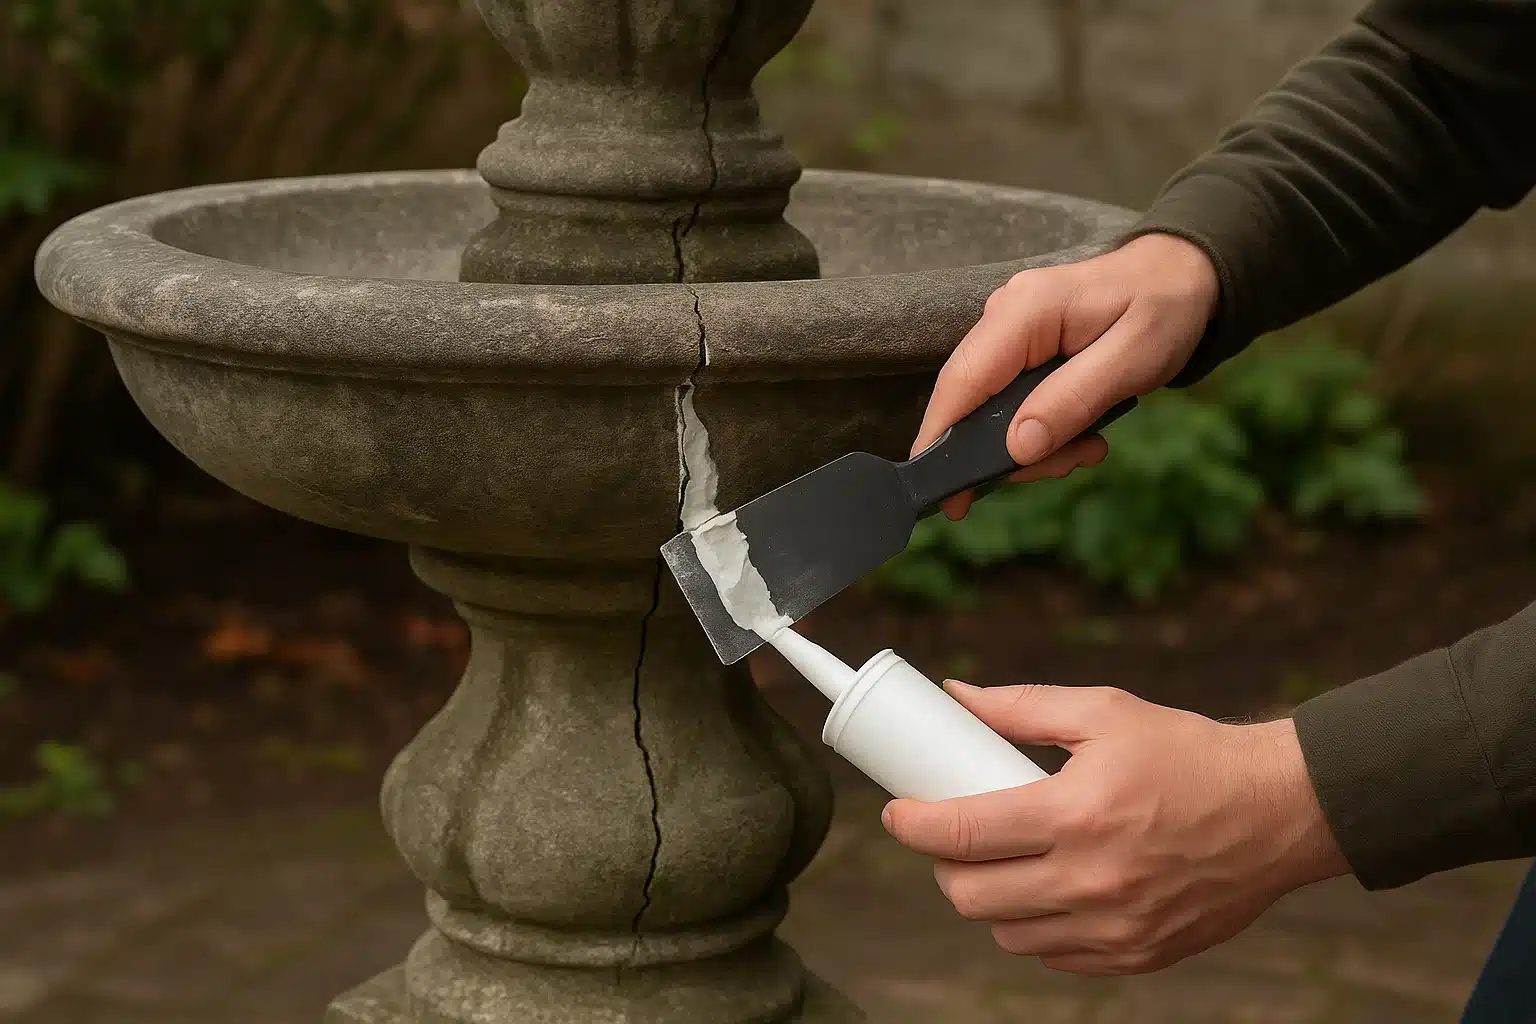
  • Reseal periodically: Protects against leaks and stains.
  • Service the pump annually: Clean and inspect for wear.

A little monthly care goes a long way in avoiding costly repairs down the road.

Common Mistakes to Avoid

When reviving a fountain, be cautious of these common pitfalls:

  • Using harsh chemicals that damage the material or harm wildlife.
  • Skipping sealing — unsealed surfaces are more prone to damage.
  • Neglecting the pump — a dirty or failing pump can ruin all your work.
  • Over-tightening fittings, which can crack pipes.
  • Ignoring small leaks, which often get worse over time.

Take your time, follow proper techniques, and don’t cut corners.

Final Thoughts

Reviving a neglected fountain is a rewarding project that can restore beauty, sound, and movement to your space. With patience, care, and the right materials, even the most forlorn fountain can flow again — often looking better than you imagined.

Instead of writing off a water feature as a loss, give it the chance to shine once more. Not only will you save money, but you’ll also preserve a piece of craftsmanship and bring life back into your environment.

FAQs:

If your pump makes loud noises, fails to move water even after cleaning, or doesn’t turn on despite having power, it’s likely time to replace it. Pumps have a limited lifespan and should be replaced every few years in heavy use.
It’s best to avoid using bleach, especially in outdoor fountains, as it can damage the material and harm wildlife. Use mild soap, vinegar, or specialized non-toxic fountain cleaners instead.
Choose a penetrating, waterproof sealer designed for your fountain’s material (stone, concrete, resin, etc.). For fountains that hold water, a non-toxic, water-safe sealer is essential.